
Today we are going to jump in and setup a simple Kubernetes cluster on Microsoft Azure. The Azure Kubernetes service (AKS), like GKE and AKS, is yet another managed instance of Kubernetes.
As with Amazon and Google, if you do not have an Azure account a free account can be created here. An allowance of $200 is provided to get going with Azure and test out the services.
Go ahead and login to your Azure account and search for AKS and click on Kubernetes Services. This will bring you to the Kubernetes services page.

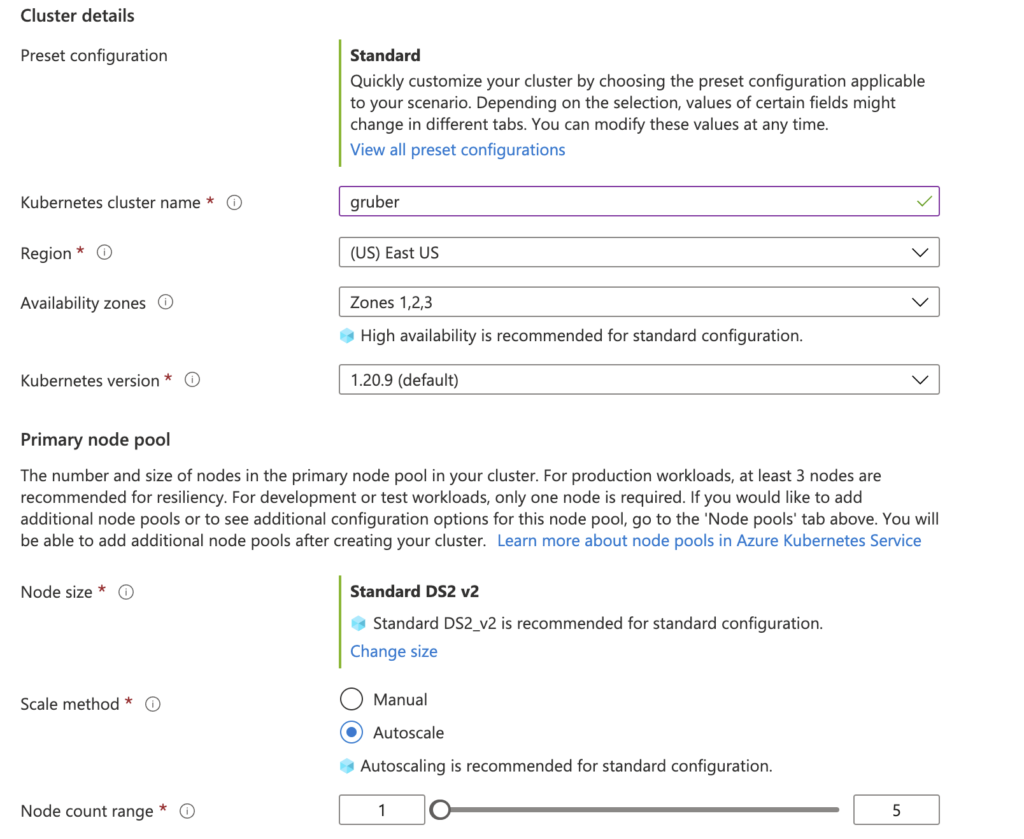
Once here, click Create -> Create Kubernetes Cluster to kick off the setup wizard. The first page is your basic/typical setup, defining a cluster name, region/AZ and your Kubernetes version. As of this writing Microsoft is currently offering Kubernetes versions 1.19.11 through 1.22.2. Be sure to select a version to match any specific requirements you may have.
I will name my cluster gruber and use the default for region/az and version. The bottom section contains the node pool information. Node pools simply let you group together VMs with the same config. Once you select a size for your node pool it cannot be changed. However, nodes can be added/removed from the pool as needed. The defaults will be used for these settings.
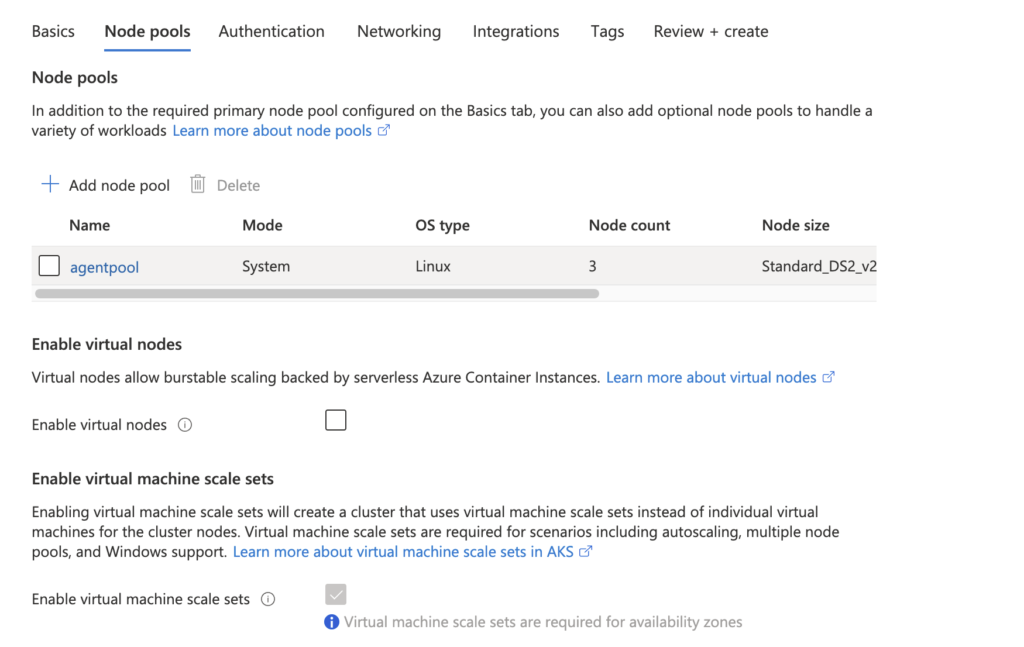
Click next to review the node pools config. You can optionally configure additional node pools as needed. With our simple cluster, we have no need to add anything additional and can proceed to the authentication section.
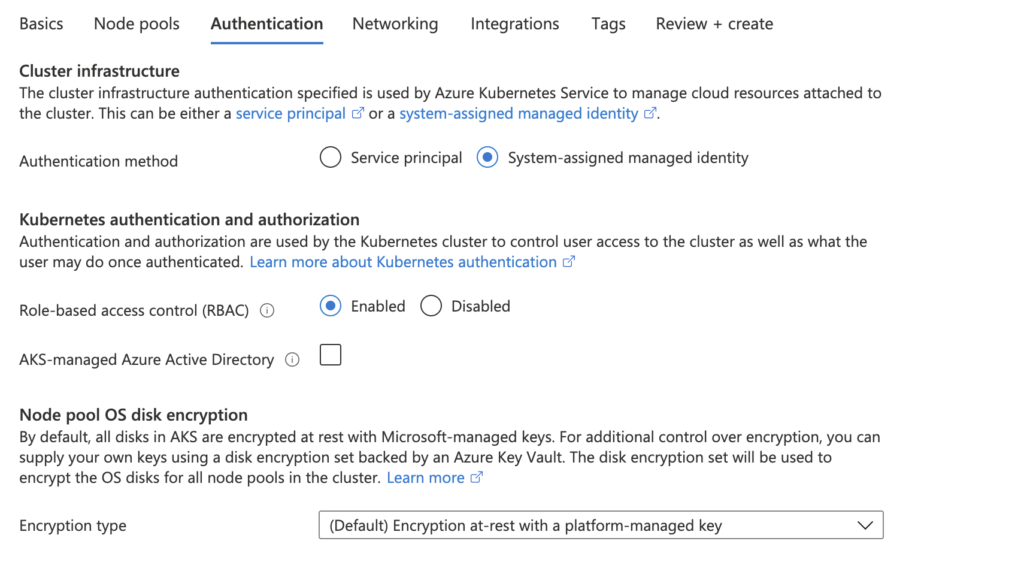
The cluster requires an identity to create cloud resources, you can read more about the differences/benefits of using a service principal vs system-assigned identity here. The short version though, service principals will need to be renewed at some point and can cause unnecessary headaches so we will stick with system-assigned managed identity. Accept the rest of the defaults and proceed to networking.
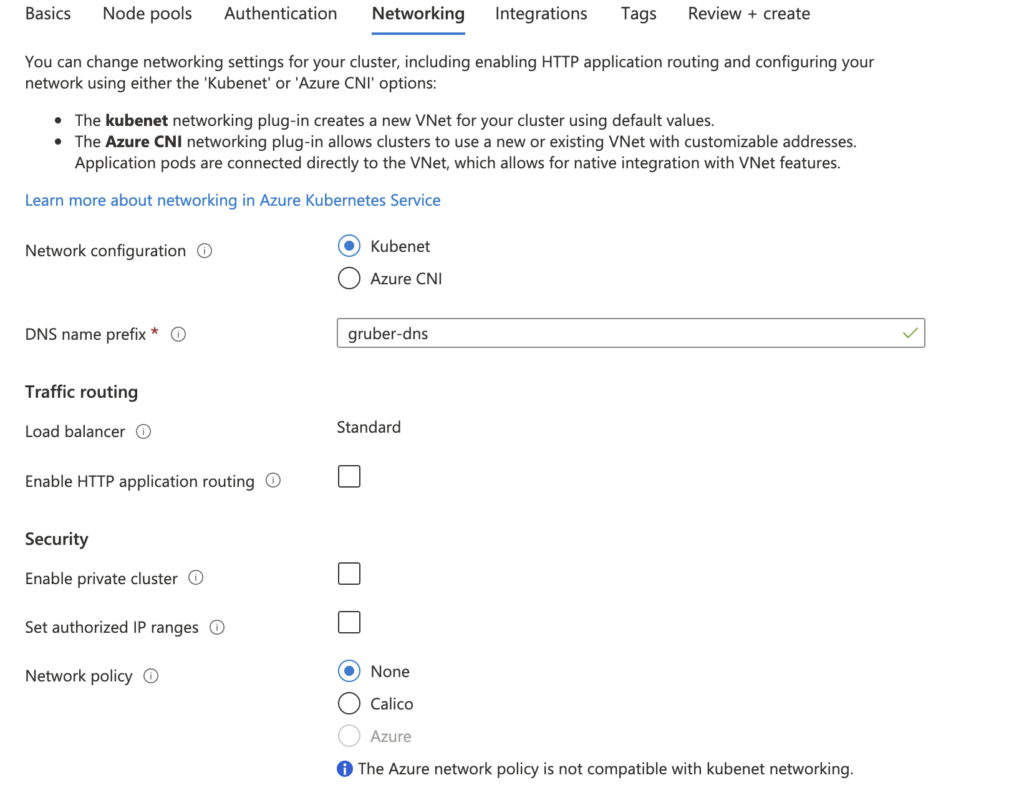
The networking tab provides some flexibility in your setup for the CNI. You have two choices with the Azure CNI providing the most configuration, i.e, service ip ranges, network policy usage etc. For a demo, Kubenet will suffice, but this should be carefully considered outside of simple testing. For example, if you use Kubenet then networking policies will not be available to you. Accept the default, adding your own DNS prefix and proceed.
For integrations, as you would imagine, is used for integrating with other Azure services. We will again keep our defaults and keep moving along. You can tag your cluster on the next screen and when ready move to the review/create screen when ready. Once everything looks good, and passes the Azure validation process, go ahead and click create. You will also have the option here to download a template of this config for automation.
After several minutes you should have a cluster up and running. This was much less painfully than having deployed on bare metal. Now that we have a cluster it is time to deploy a workload and see AKS in action. Upon completion, if you did not leave the overview page, you will see a Connect to cluster button. If you left the page simply head back to it.
Microsoft really made this as easy as possible here and by clicking this you will see detailed instructions for connecting to the cluster. You will open the cloud shell, either by clicking the link in the details or clicking the icon in the top right.

You will first be setting up the account subscription and getting credentials to access the cluster. The get-credentials command updates your kube config to be able to access the cluster. Once these are run you can take kubectl for a spin.
cloud@Azure:~$ kubectl get po --all-namespaces
NAMESPACE     NAME                                  READY   STATUS    RESTARTS   AGE
kube-system   azure-ip-masq-agent-7rrzr             1/1     Running   0          6m48s
kube-system   azure-ip-masq-agent-khck6             1/1     Running   0          7m9s
kube-system   azure-ip-masq-agent-x4mbt             1/1     Running   0          6m49s
kube-system   coredns-58567c6d46-29q47              1/1     Running   0          7m51s
kube-system   coredns-58567c6d46-2z7p5              1/1     Running   0          6m53s
kube-system   coredns-autoscaler-54d55c8b75-q5jmj   1/1     Running   0          7m46s
kube-system   kube-proxy-65qt4                      1/1     Running   0          6m49s
kube-system   kube-proxy-dstdn                      1/1     Running   0          6m48s
kube-system   kube-proxy-mwrr6                      1/1     Running   0          7m9s
kube-system   metrics-server-569f6547dd-l65pf       1/1     Running   0          7m51s
kube-system   tunnelfront-7f5779b4fb-8vvt8          1/1     Running   0          7m48s
We can create a simple deployment and service to make sure things are working correctly.
cloud@Azure:~$ kubectl apply -f https://bit.ly/echo-service
service/echo created
deployment.apps/echo created

cloud@Azure:~$ kubectl get po,svc
NAME                        READY   STATUS    RESTARTS   AGE
pod/echo-5fc5b5bc84-h6rhk   1/1     Running   0          13s

NAME                 TYPE        CLUSTER-IP    EXTERNAL-IP   PORT(S)           AGE
service/echo         ClusterIP   10.0.29.142   <none>        8080/TCP,80/TCP   13s
service/kubernetes   ClusterIP   10.0.0.1      <none>        443/TCP           11m
cloud@Azure:~$
We can use the Azure Portal to explore this as well. Within Kubernetes Services, navigate to your cluster -> Workloads. Here you will find the echo deployment we just created at the CLI.
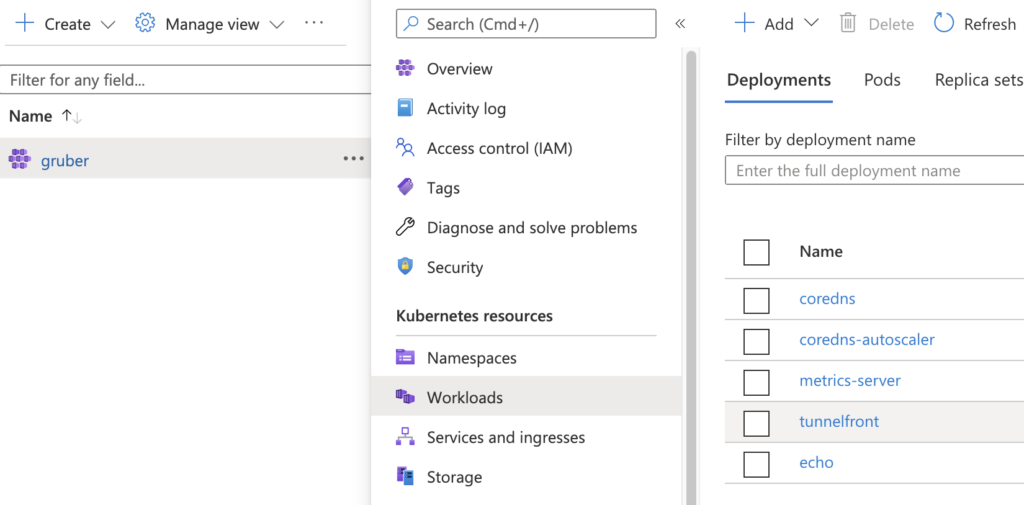
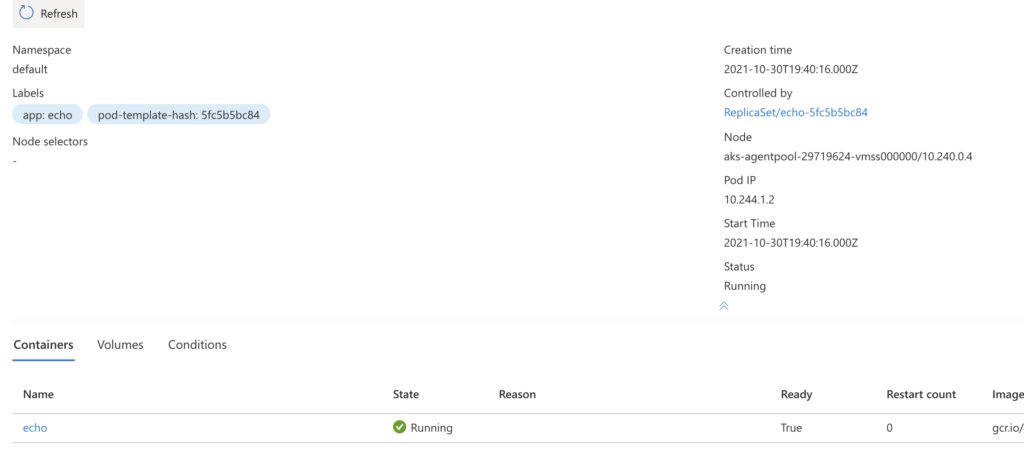
You can click on echo to drill down into this more where you can view data like the desired replicas, update strategy, labels, volumes, containers, secrets etc. The interface is very intuitive so once you have started to drill into the deployment it should be fairly simple to see this data.
You will also find the system events as well as the YAML used for the deployment accessible here. Let’s head back to the main cluster screen and we will create another deployment, but this time using the Azure Portal rather than the CLU.
Again on the workloads screen click Add -> YAML, this gives us the ability to create objects directly from YAML (or JSON if you prefer). Grab the code here and paste it in, clicking add when done. You will be returned to the workload screen where you can view the status of the creation. This deployment containers two containers to give a little more to look at. Go poke around and explore the settings to familiarize yourself with it more.
That wraps up this one, you have now successfully deployed your AKS cluster and created two deployments, once from the CLI and one from within the Azure Portal. You can officially update your resume with AKS!..well, I probably wouldn’t just yet if this was your first go at it, but it sounded good to say.