
You’ve got the Kubernetes experience, you’ve got some cloud exposure and now you are ready to bring the two together in the power house of a managed service. Today, we will focus on setting up your first Kubernetes cluster using the Google Kubernetes Engine. To keep things simple, but also realistic, we will setup a simple cluster, explore some of the benefits and deploy a simple application.
Login to your Google Cloud Account. If you do not presently have one you can sign up for free and receive $300 in credits to use for your testing. While they do require a credit card to sign up, it will not be charged unless you explicitly choose to upgrade your account.
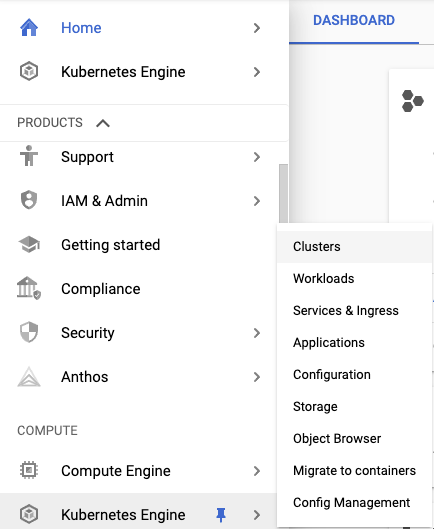
Once logged in, navigate to Kubernetes Engine -> Clusters
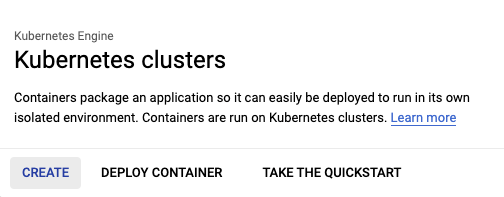
Select Create
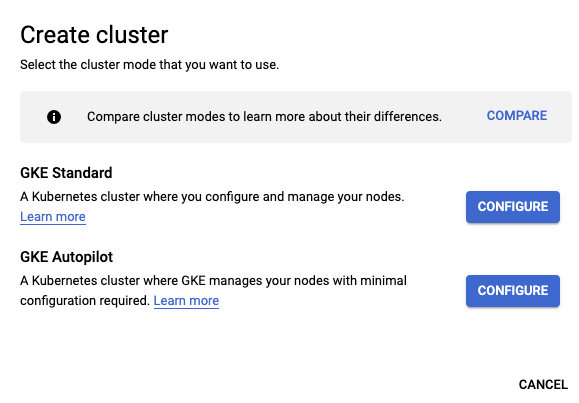
You will be presented with 2 options, GKE Standard and GKE Autopilot. A comparison is available to view, but in general autopilot is a much more hands off approach. You don’t typically have to worry about provisioning and managing nodes/pools. For learning purposes and to have a bit of flexibility we will select GKE Standard.
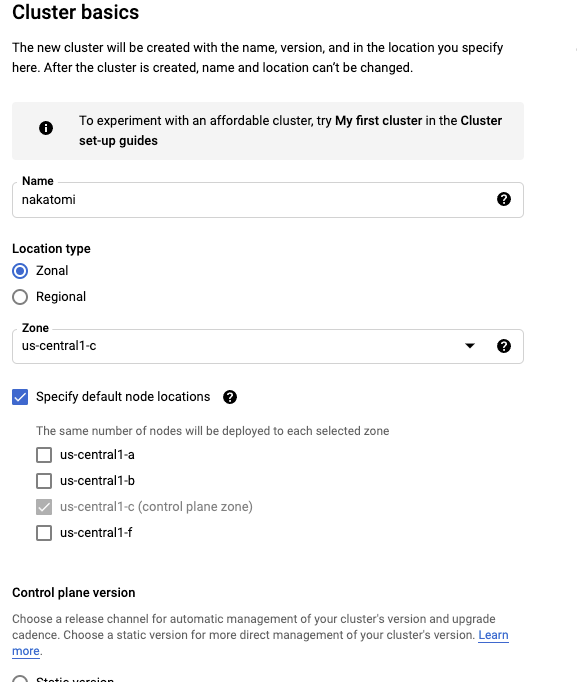
Here we will configure your cluster. The name is arbitrary and you can name it however you like within the confines of the GKE naming convention (lowercase, no spaces, etc). The location is important to be aware of, by default this will deploy to a single Zone so this provides no fault tolerance. While this is fine for testing, once you start to move towards more realistic setups this will become more important. For now, keep this as Zonal for testing.
You can optionally set this to Regional which will create the cluster across 3 zones and you are even free to specify specific zones within the defined region. Keep in mind however, that your workloads will now be multiplied by 3 (3 zones), so if you specify 3 nodes it will actually create 9, 3 per zone.
You can accept the default for the Kubernetes version unless you would like to experiment with a particular release or require features found in a particular version. Click the create button to proceed. You will also notice next to the create button, options to find the command line and API calls to perform the same setup.
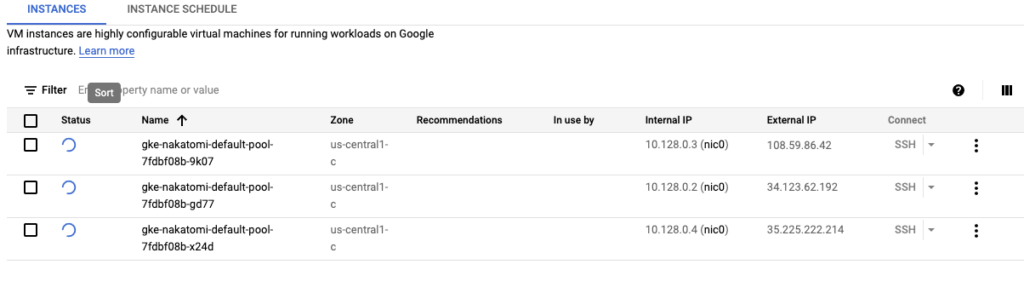
This will take several minutes as the cluster is created. If you navigate to the Compute Engine -> VM Instances you can see GKE is spinning up 3 new nodes for the cluster.
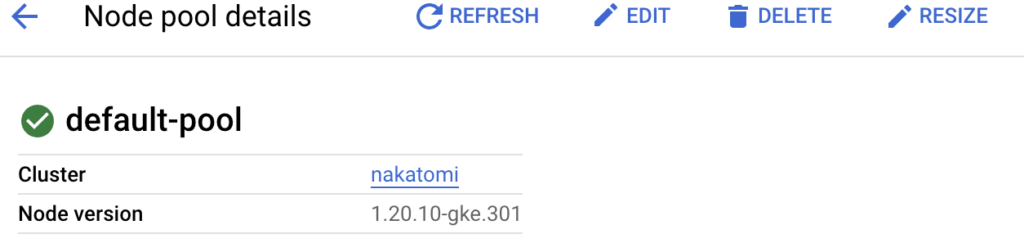
Congratulations! You have officially deploy a very basic Kubernetes cluster on GKE. But, why stop here? What if you want to add or remove nodes to the cluster? Navigate over to Clusters -> <YourClusterName> -> Nodes. Here you will see a list of your nodes and node pools (common settings, i.e, memory, cpu, etc). If you click on the default node pool you will have a resize option to increase/decrease the number of nodes.
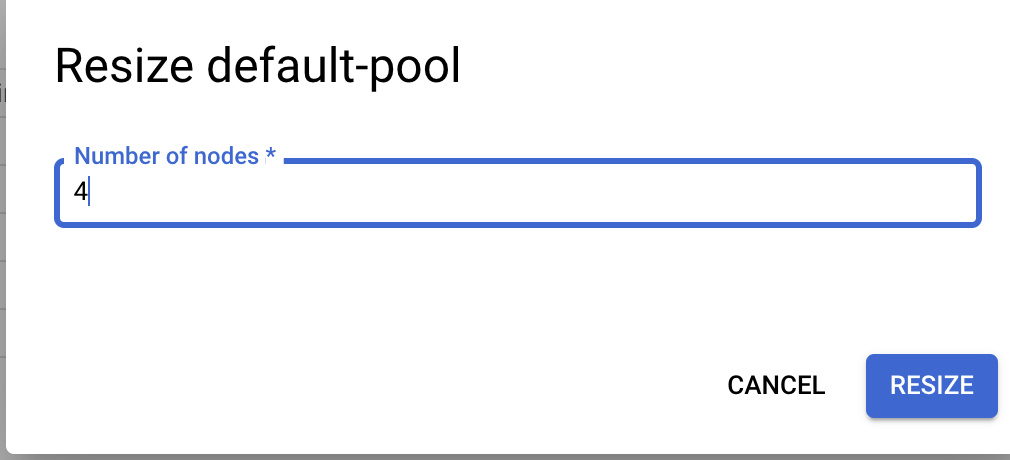
Change the value to the desired number of nodes and you will notice a new node comes online (if increased) or removed (of decreased).
Now that we have a cluster up and running with several nodes, let’s move forward with deploying a simple app to the cluster. Before we deploy an app, go ahead and connect to the cluster and take a look at what we already have running. You can do this by navigating to your cluster and clicking the connect button up top. This will open a dialog showing the gcloud command to connect or allow use of cloud shell. Running cloud shell will simply open the cloud shell dialog and auto copy the gcloud command to connect.
Once connected take a look at the nodes:
$ NAME                                      STATUS   ROLES    AGE     VERSION
gke-nakatomi-default-pool-291d6564-hf68   Ready    <none>   10m     v1.20.10-gke.301
gke-nakatomi-default-pool-291d6564-q9v2   Ready    <none>   10m     v1.20.10-gke.301
gke-nakatomi-default-pool-291d6564-v8z7   Ready    <none>   3m52s   v1.20.10-gke.301
gke-nakatomi-default-pool-291d6564-vwr5   Ready    <none>   10m     v1.20.10-gke.301
Here will see 4 running nodes, all part of the default node pool. We will explore two simple ways to quickly spin up some pods. First, using kubectl:
$ kubectl create deploy nginx --image nginx --replicas 3
deployment.apps/nginx created
$ kubectl get pods -o wide
NAME READY STATUS RESTARTS AGE IP NODE NOMINATED NODE READINESS GATES
nginx-6799fc88d8-4462f 1/1 Running 0 32s 10.84.3.4 gke-nakatomi-default-pool-291d6564-v8z7 <none> <none>
nginx-6799fc88d8-cqqn7 1/1 Running 0 32s 10.84.2.7 gke-nakatomi-default-pool-291d6564-vwr5 <none> <none>
nginx-6799fc88d8-hqz2b 1/1 Running 0 32s 10.84.3.3 gke-nakatomi-default-pool-291d6564-v8z7 <none> <none>
We can see the 3 pods running with two of them on the v8z7 node and one on the vwr5 node. This is nice and all, but there are other ways to accomplish this using the abstraction that GKE provides. Go ahead and delete this deployment and we will explore this more.
$ kubectl delete deploy nginx
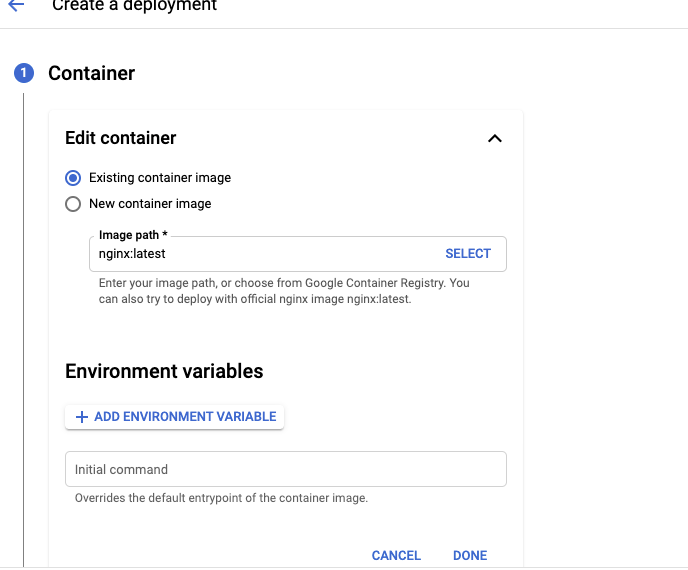
deployment.apps "nginx" deletedHead over to the workloads section of your cluster. The defaults can be kept here, but explore the options a bit. You can create a deployment using an exiting or new image, set environment variables, add labels, etc. Accept the defaults and proceed to the next screen. Accept the defaults and make sure your existing cluster is used.
Your deployment is now created. You can navigate back to your workloads to get more info.
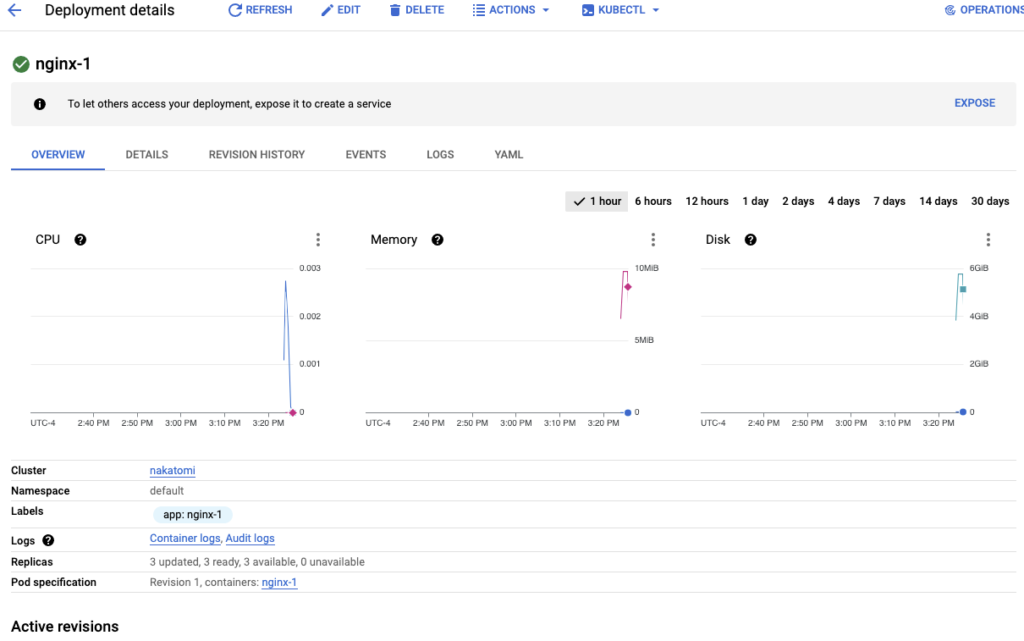
From this screen you have access to a wealth of information including Kubernetes events, container logs, the YAML to create the deployment, revision history etc.
This wraps up this article, while not overly in depth it should give a good overview of using GKE and how it can simply your Kuberentes deployments.